Buffet Table Styling 101: How to Layer Risers, Stands & Lighting Like a Pro
- Share
- Issue Time
- Sep 4,2026
Summary
A professional buffet display is built in three layers - foundation and zoning, height through risers and stands, and lighting that supports hot holding. This guide gives hotel and catering buyers the spacing rules, riser material comparison, a six-step styling workflow and the HACCP temperature checks used in professional buffet displays.
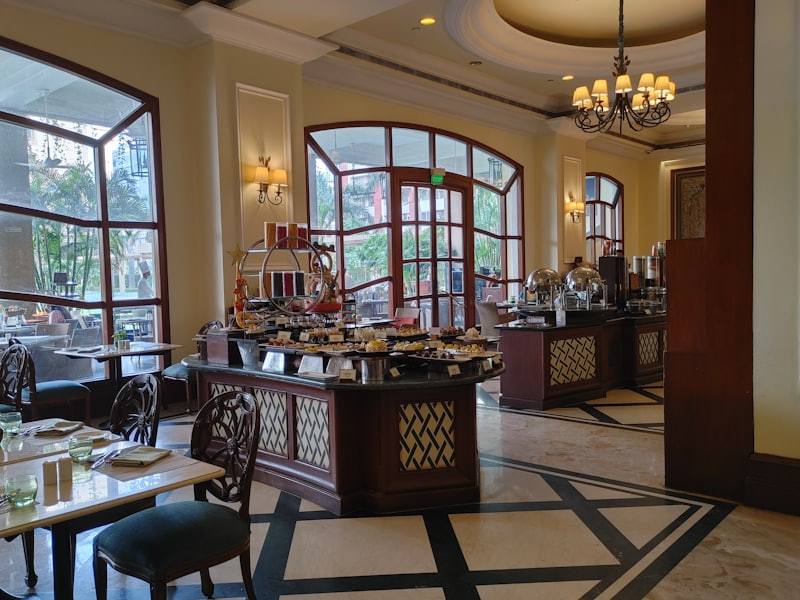
A professional buffet display is built in three layers: a flat foundation that controls guest flow, a height layer of risers and stands that gives every dish a clear sightline, and a lighting layer that makes food visible while keeping it at safe serving temperature. Work in that order - foundation first, height second, lighting last - and even a modest equipment budget will read as a five-star setup. This guide breaks down each layer with spacing rules, material comparisons and a six-step workflow used in hotel and catering service.
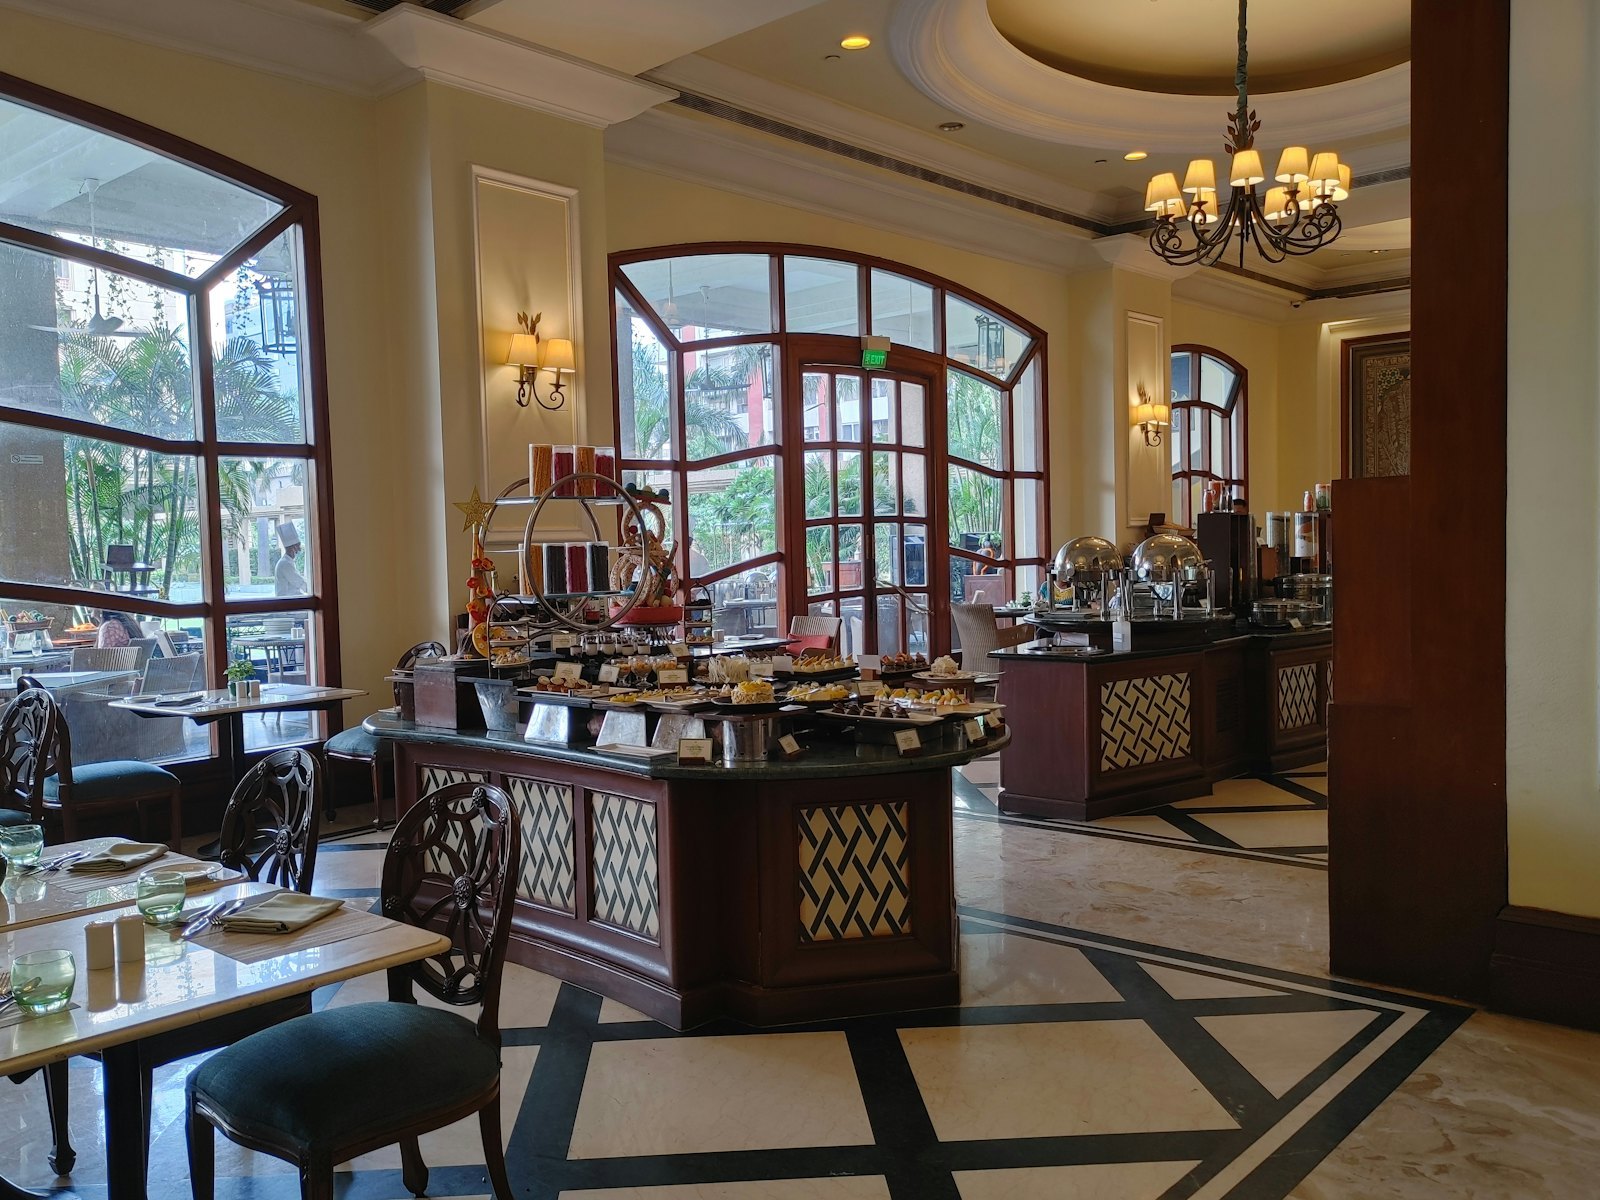
The Three-Layer Buffet Styling System at a Glance
Most flat-looking buffet tables share the same root cause: every item sits at the same height on one unbroken line. The fix is not more equipment - it is structure. Think of the table as three stacked layers, each with its own job.
Layer 1 - Foundation
Linens, zoning and guest flow. Decides where hot, cold and dessert zones sit and how wide the approach lane is.
Layer 2 - Height
Risers, stands and tiered displays. Creates the low-front, high-back profile so guests see every item from a distance.
Layer 3 - Light
Heat lamps and warm ambient light. Keeps food in the 60°C/140°F hot-holding zone while acting as the table's visual spotlight.
Layer 1 - Build the Foundation Before You Place a Single Dish
The foundation is decided before any food or equipment goes down. Start with a clean, level table and a linen or skirt line that reaches the floor on the guest side - exposed table legs break the visual base of the whole display. Then zone the menu: cold items such as fruit plates and ice-housed displays at the entry end, hot chafing dishes in the center where heat lamps can be mounted, and dessert stands near the exit to smooth traffic. A full planning framework for zone sequencing and space calculations is covered in our hotel breakfast buffet layout guide.
Direction matters as much as zoning. A single-sided line reads cleaner and is easier to replenish from behind; a double-sided island moves more guests per minute but needs wider aisles and more backup pans staged underneath. For luxury service standards and equipment pairing by outlet type, see the complete buffet equipment list for 5-star hotels.
Layer 2 - Add Height with Risers, Stands and Tiers
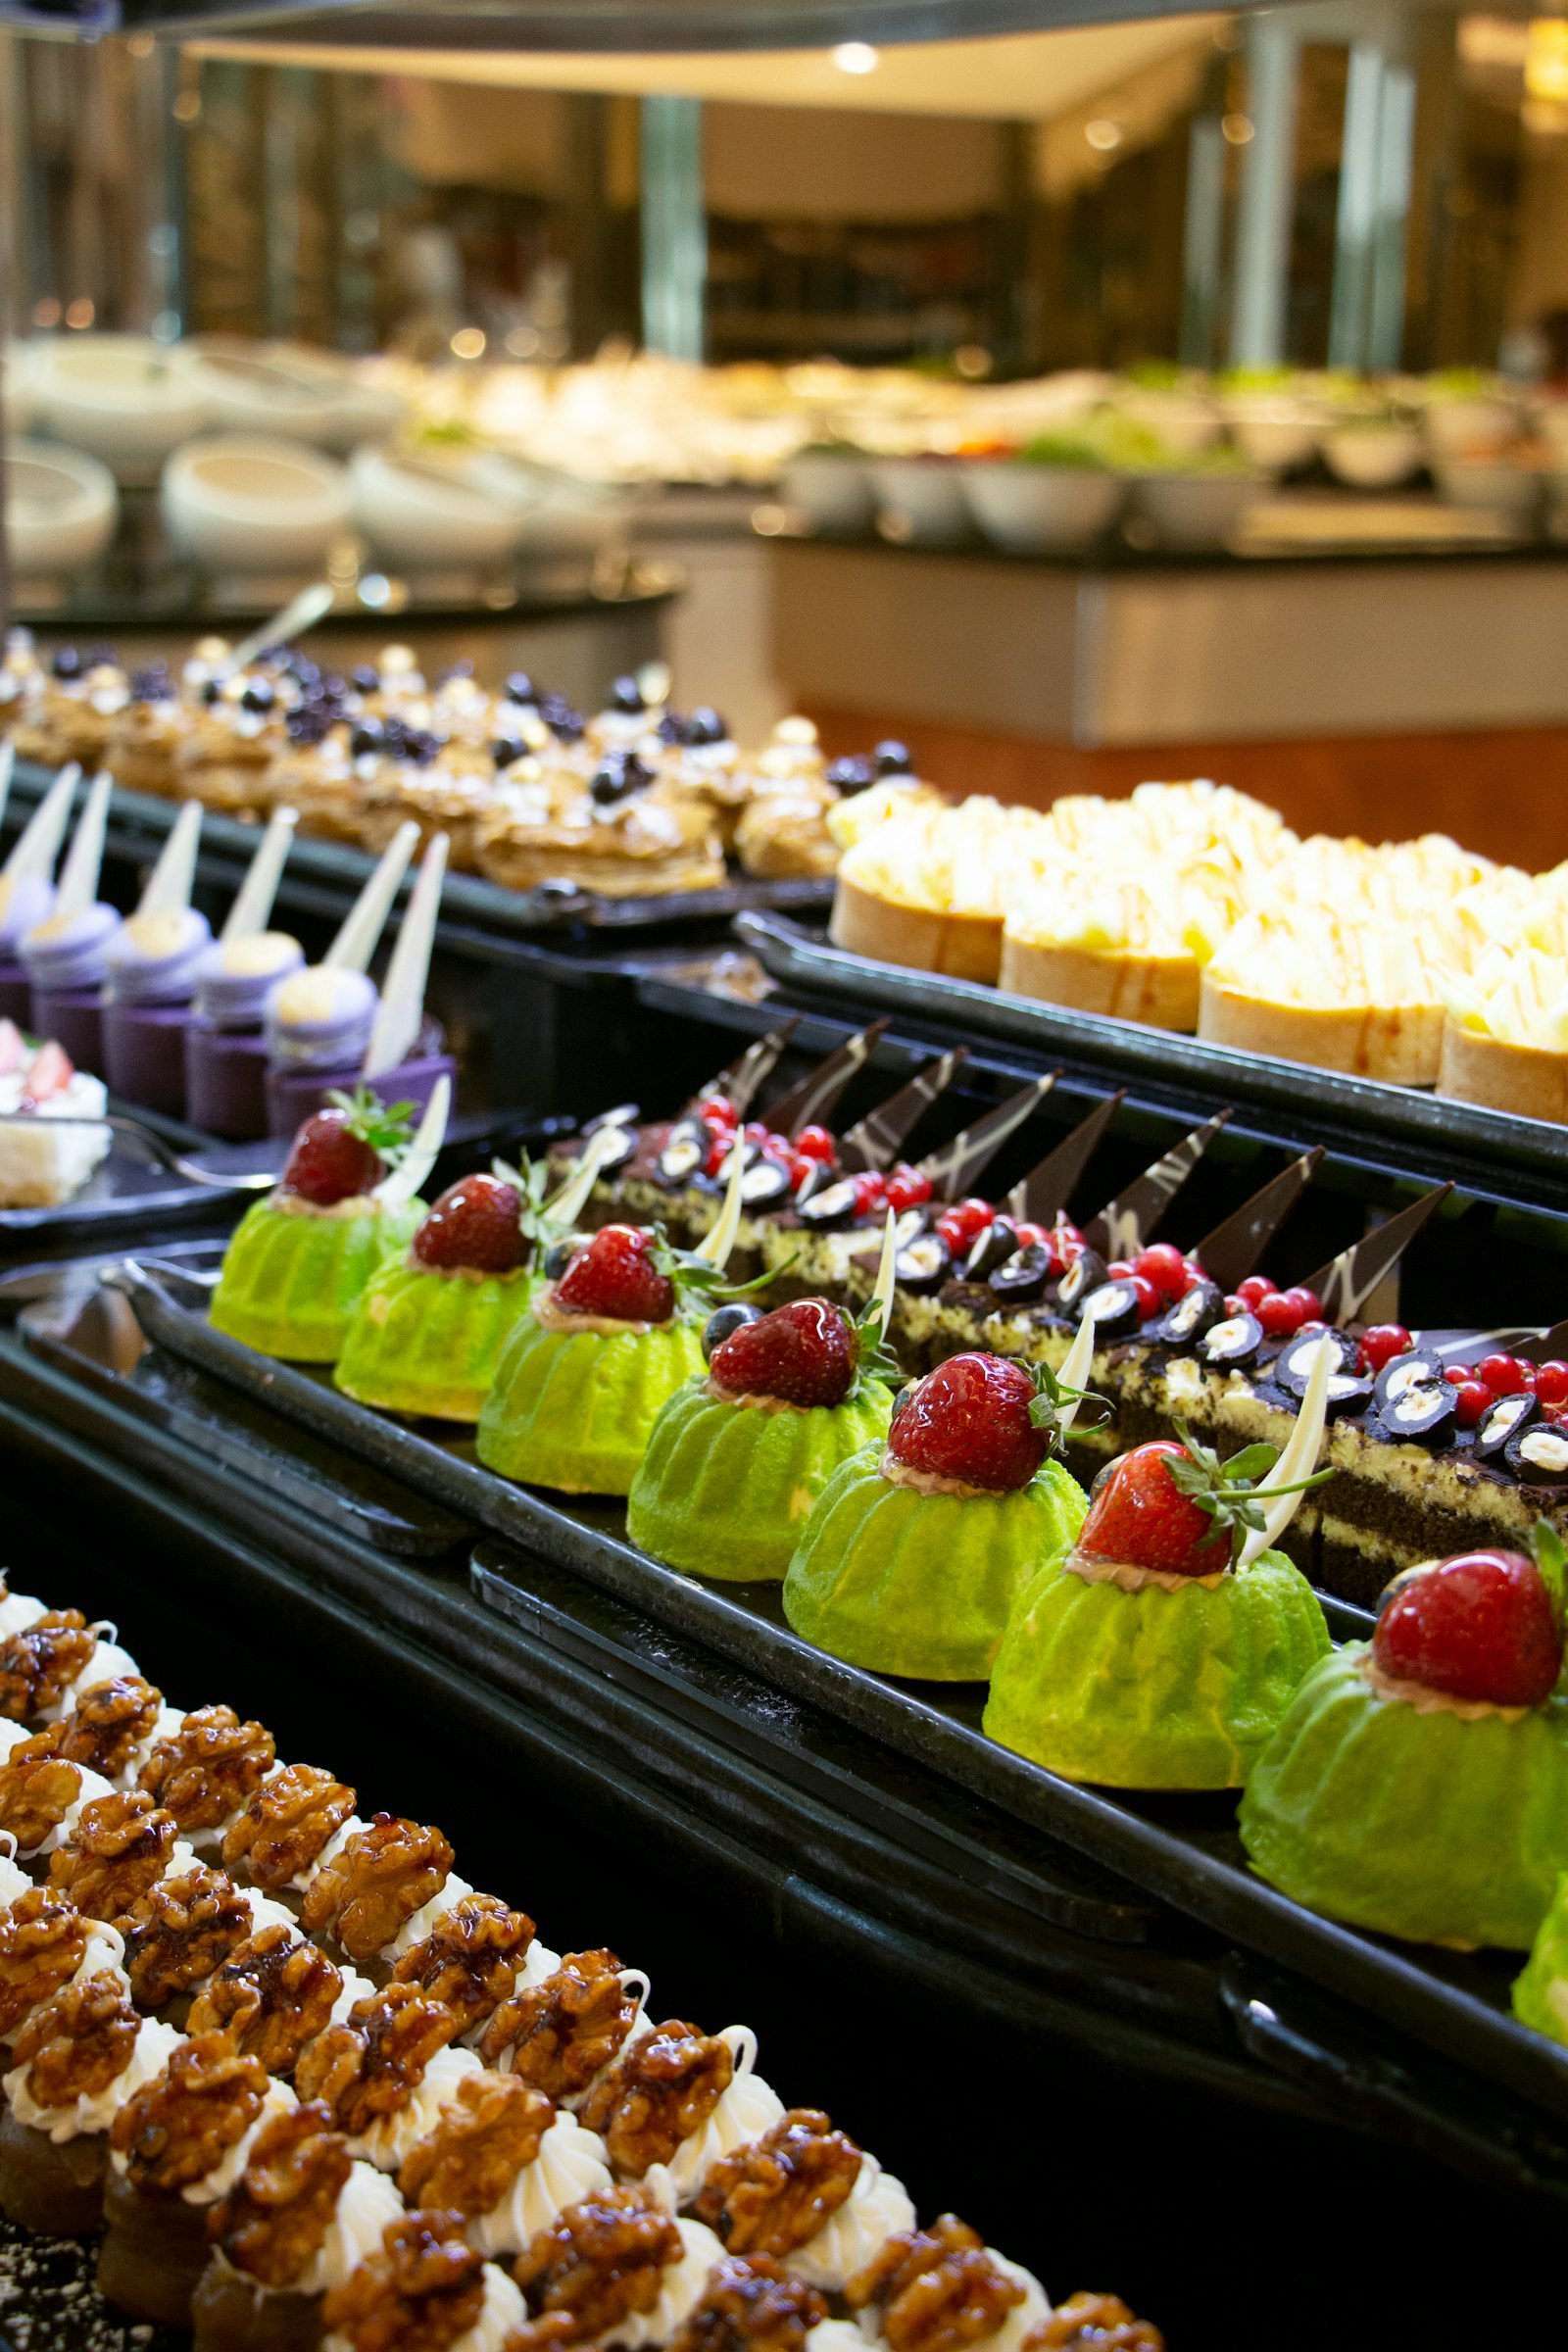
Height is what turns a serving line into a display. The core principle is low in front, high at the back, stepped up by roughly 10-15 cm per level. Flat items - bread baskets, condiment bowls, garnish trays - belong at the front edge; signature pieces such as tiered cake stands or sculptural fruit displays go on the highest level at the back, where they act as the table's focal point. Keep the tallest riser in the service zone under about 130 cm total height so guests can still reach across comfortably.
| Riser Material | Best Suited For | Watch-Outs |
|---|---|---|
| Wooden risers & stands (beech, sapele, walnut) | Breakfast buffets, bakery and bread displays, warm or natural themes | Keep clear of melting ice beds; wipe clean and dry after service |
| Acrylic risers & trays | Modern minimal rooms, dessert and fruit displays, bright daytime service | Shows scratches over time; clean with a soft microfibre cloth |
| Stainless steel racks & tiered stands | Chafing lines, high-volume banquets, high-turnover stations | Match finish (mirror or brushed) across the whole line for a uniform look |
Material choice follows the outlet's design language rather than personal taste. Wooden risers warm up breakfast and bakery stations - see how they are used in our wooden food risers guide and the sapele dessert stand set. Acrylic suits contemporary rooms and lets light through to lower tiers, covered in our acrylic serving solutions article. For volume service, modular stainless steel systems carry the load - start with the stainless steel display racks overview and the three-tier cake stand, or the folding version where storage is tight.
Layer 3 - Light It Right and Keep It Safe
Lighting on a buffet table does three jobs at once: it makes food visible from across the room, it sets the warm dining mood, and - when the fixtures are heat lamps - it supports hot holding. The food-safety benchmark is that hot items stay at 60 °C (140 °F) or above, and lamp output alone cannot guarantee that number: actual temperature depends on pan depth, covers, portion turnover and ambient conditions, so treat lamps as support and verify with a probe. That is why the lighting layer comes last: lamps must be positioned over the food that actually needs holding, not over decoration. Warm 2700-3000 K lamps keep the glow consistent with dining-room lighting; cool white light flattens food color and makes buffet lines feel institutional.
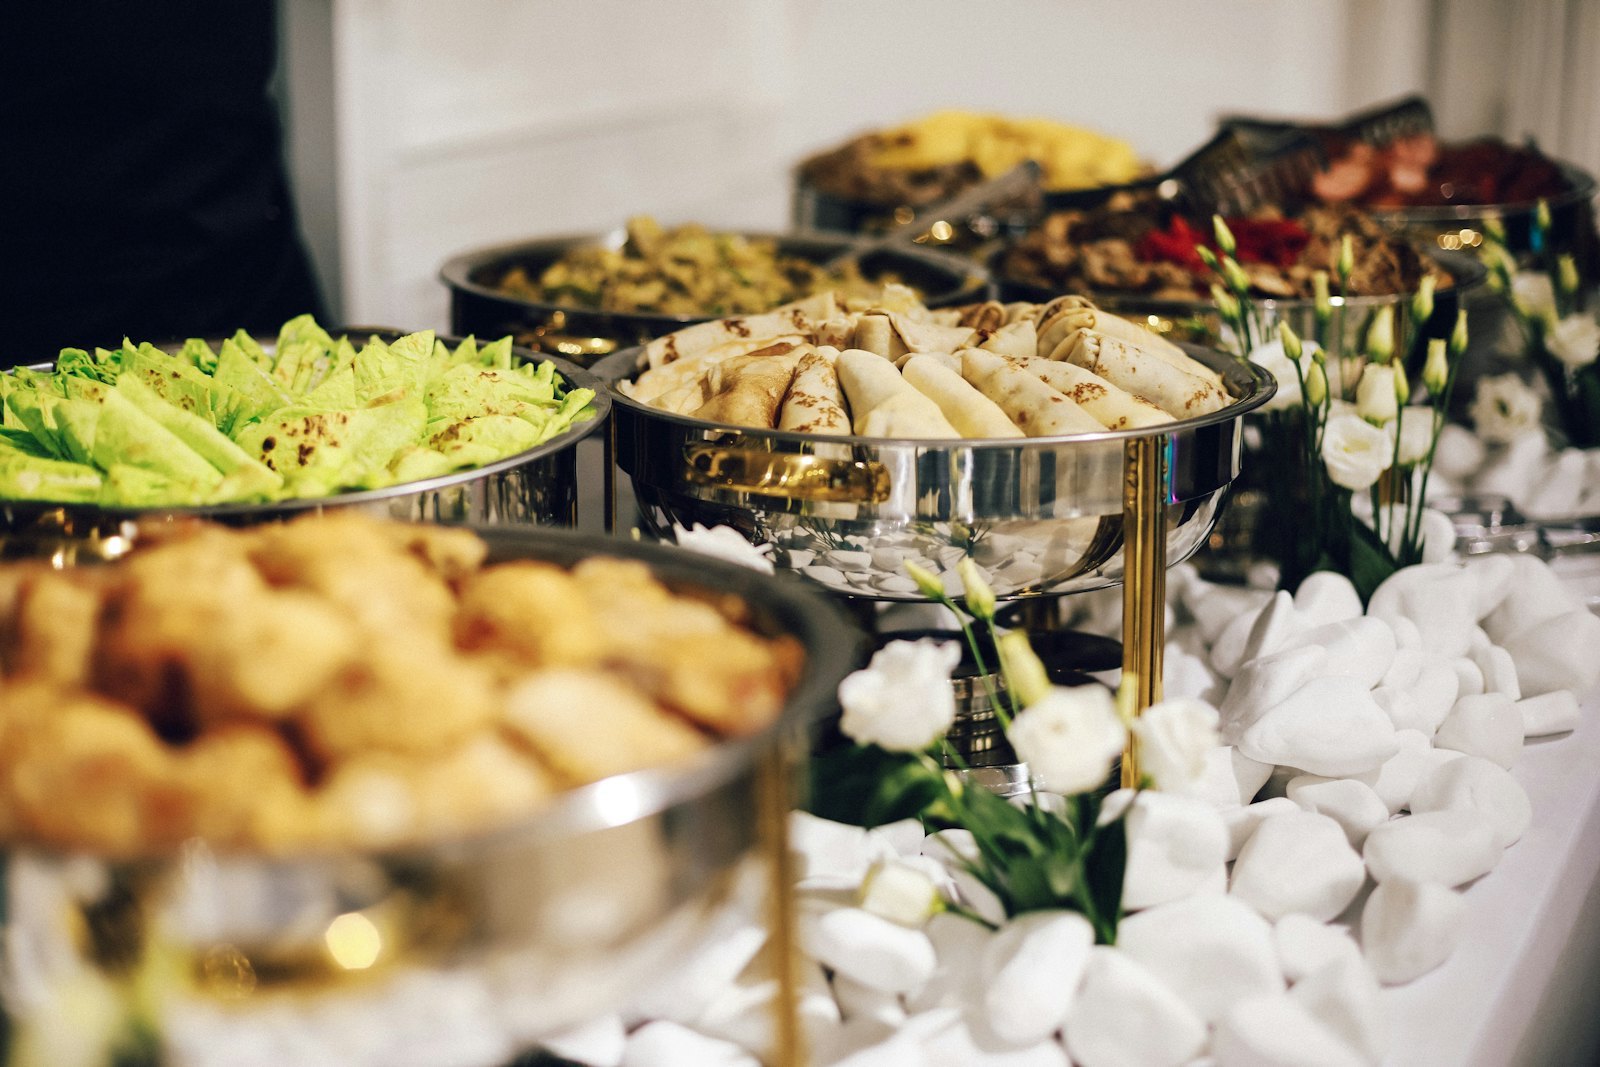
Position heat lamps so the light cone covers the full pan surface without heating handles and ladles that guests touch. On mixed lines, chafing dishes handle the holding duty for wet dishes while lamps cover carved meats, fried items and pasta stations - the division of labor is explained in our buffet heat lamp guide and the commercial chafing dish buying guide.
A Six-Step Buffet Styling Workflow
Used consistently, the sequence below takes a standard 8-foot table from bare to service-ready in roughly 60-70 minutes with two staff.
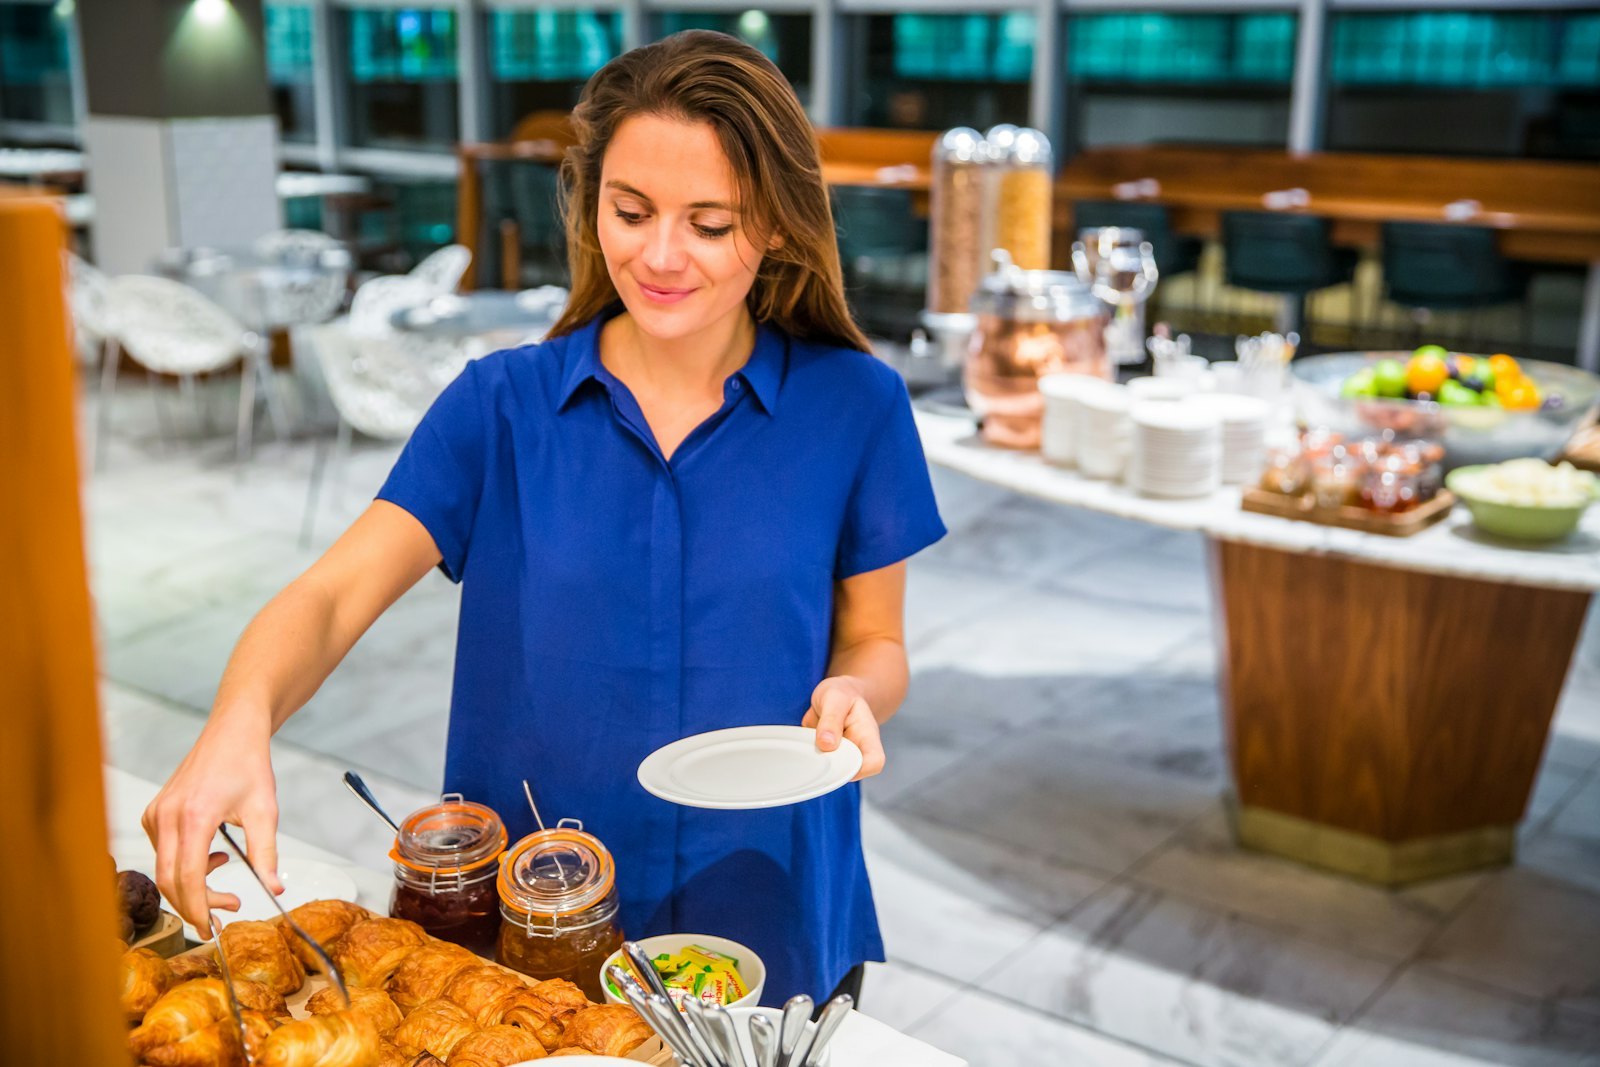
Five Mistakes That Flatten a Buffet Table
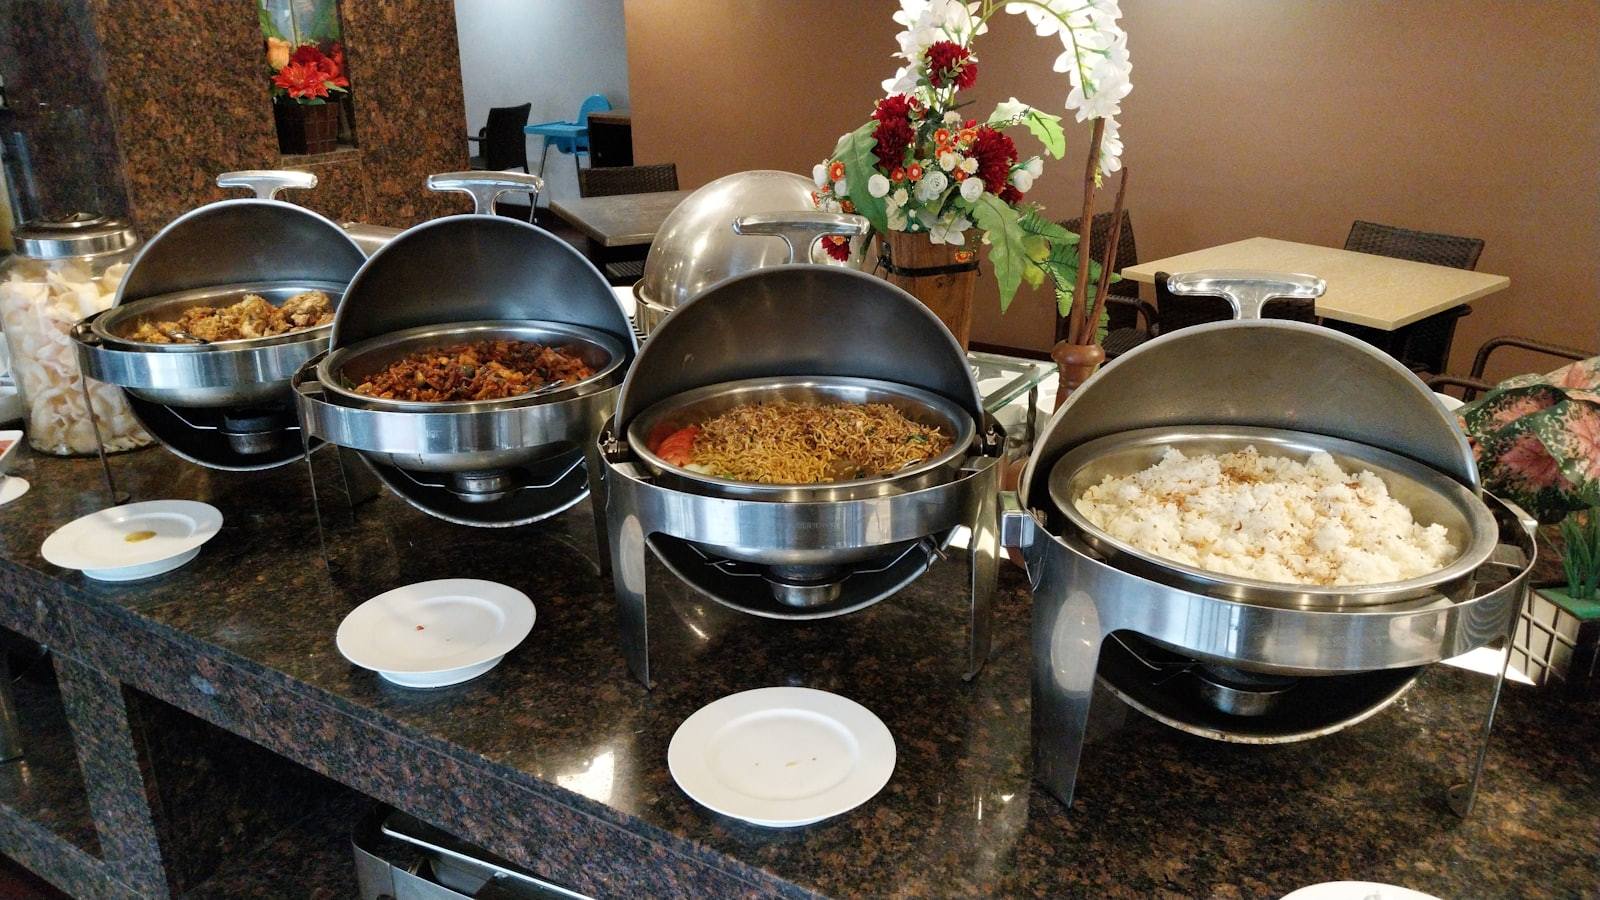
Frequently Asked Questions
What height should buffet risers be?
Build the profile in 10-15 cm steps: flat items at table height (around 75 cm), first riser level near 90 cm, and the back row topping out under roughly 130 cm in guest-facing service zones. Higher towers work only in non-reach corners or on dedicated focal tables.
How do I style a buffet table on a small budget?
Spend first on height and light. Two or three versatile risers plus a set of heat lamps restyle an existing table more visibly than new serving ware. Folding and stackable stands - like the folding cake stand linked above - add tiers without adding storage cost.
How many chafing dishes fit on one buffet table?
On a standard 8-foot (240 cm) table, plan two to three full-size chafing dishes plus one flat-accessory section. Reserve 60-90 cm of width per hot position so lids open without blocking the neighboring pan.
Do heat lamps count as buffet lighting?
They count as task lighting and often the only lighting a line needs. Choose warm 2700-3000 K lamps so their glow matches the dining room, and layer ambient light above only where the ceiling allows.
How often should a buffet display be refreshed during service?
Top up pans before they drop below one-third full, and re-face the entire line - straighten stands, re-angle labels, wipe rims - at every replenishment pass. A styled table that drifts out of alignment loses its effect within one service.
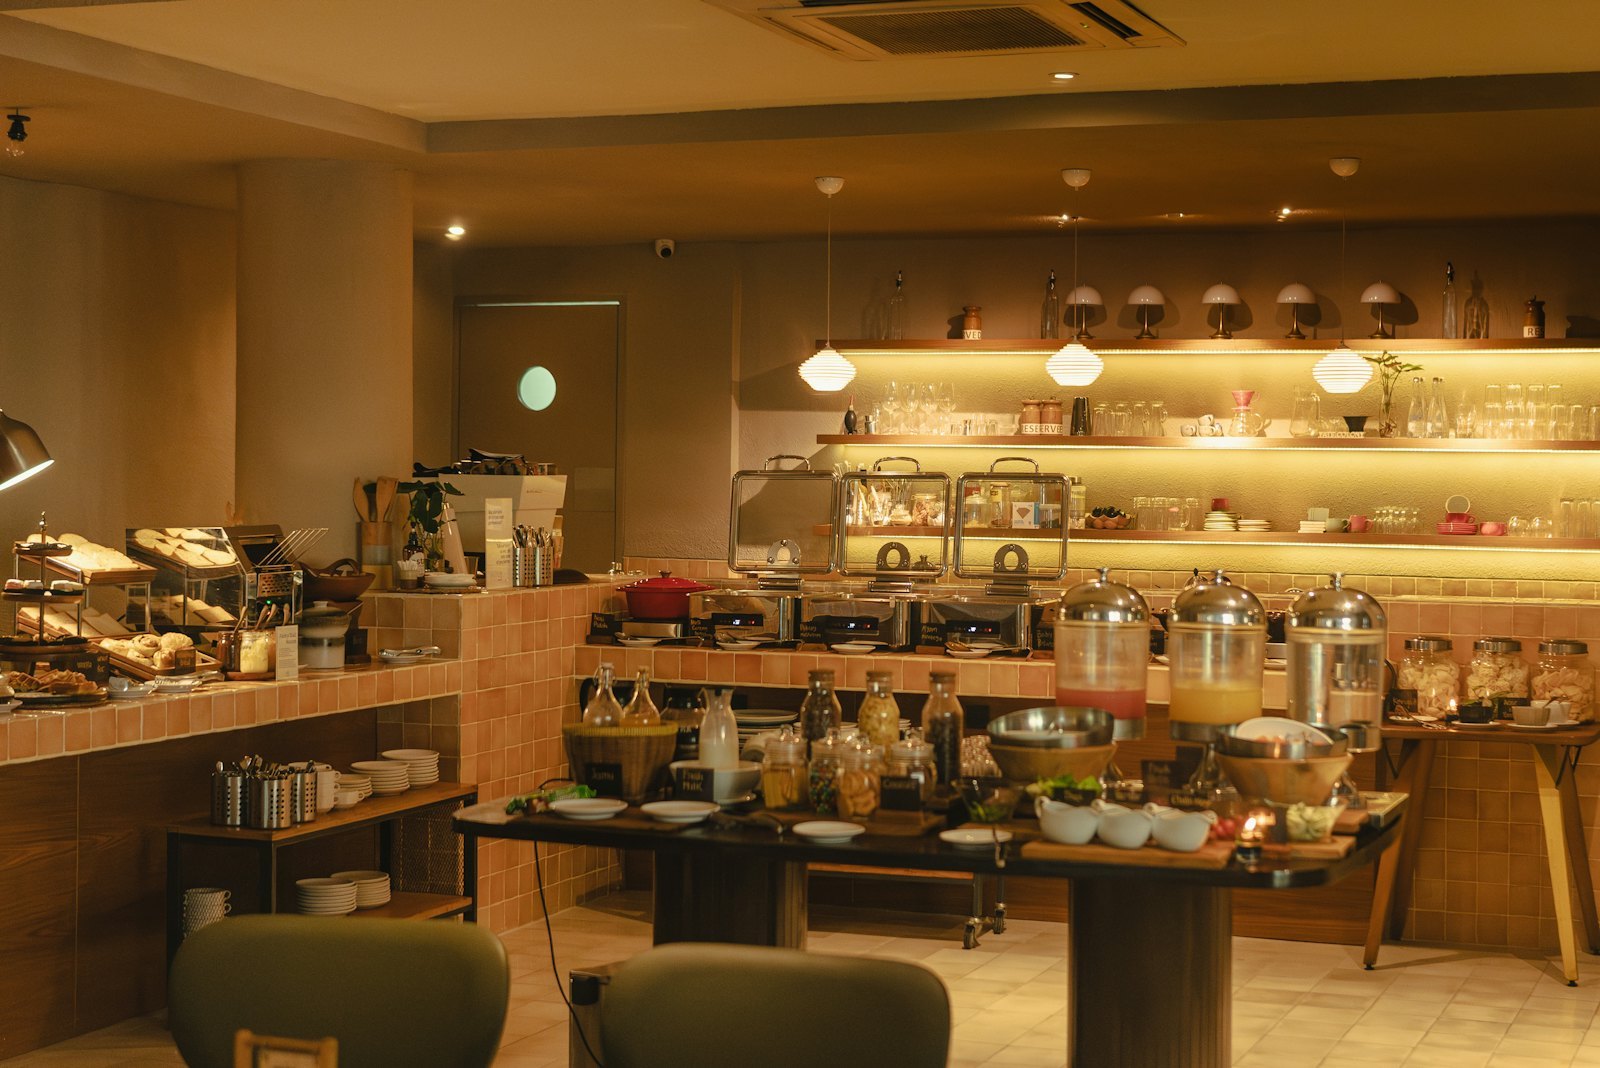
Final Takeaway
Buffet table styling is a sequence, not a shopping list: set the foundation and flow, build height with the right riser material for your outlet, then finish with warm light that supports hot holding. For risers, tiered stands and warming equipment specified for hotel and catering service, browse the PYEIN® product catalog - with OEM/ODM support for projects worldwide.
Key Takeaways
- Style in three layers - foundation and zoning first, height second, lighting last.
- Keep approach lanes at 90 cm one-way or 150 cm two-way, with 60-90 cm of table width per hot-food position.
- Build the height profile in 10-15 cm steps, low in front and high at the back, topping out under 130 cm in service zones.
- Match riser material to the outlet: wood for breakfast and bakery, acrylic for modern dessert displays, stainless steel for volume banquet lines.
- Treat heat lamps as hot-holding support, not a guarantee - HACCP plans require hot food verified at 60 °C/140 °F or above with a probe.
- Re-face the entire line at every replenishment pass to keep the profile intact.